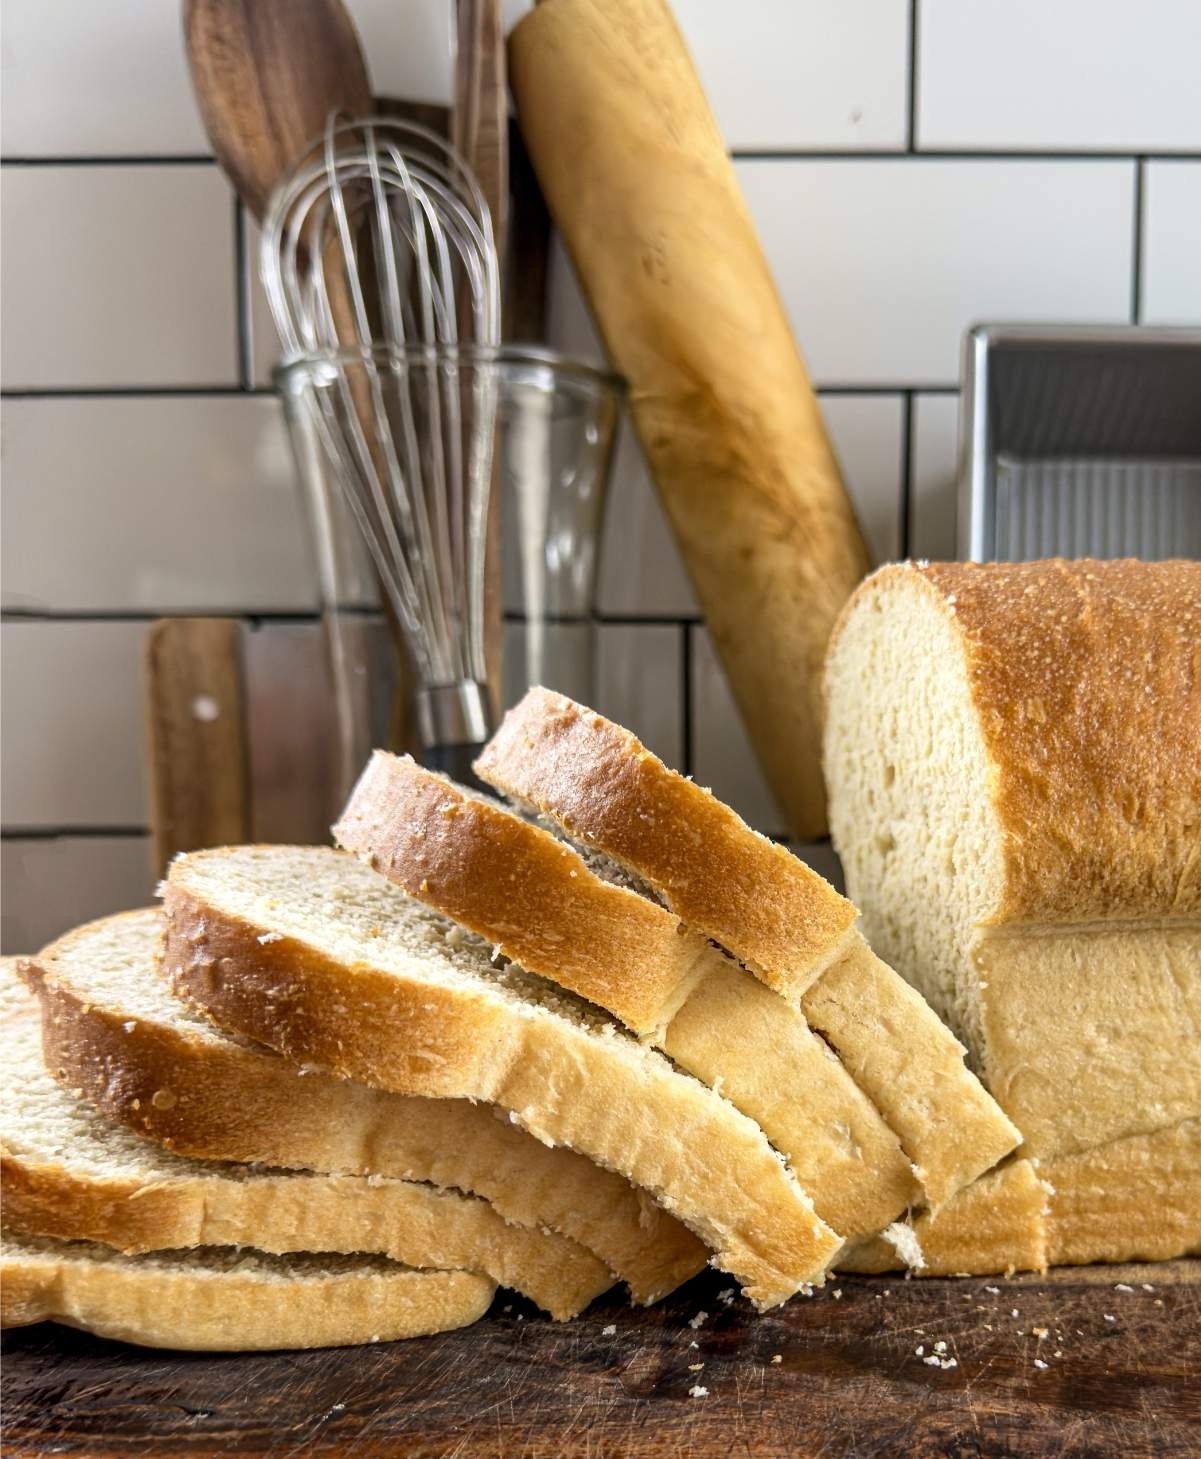
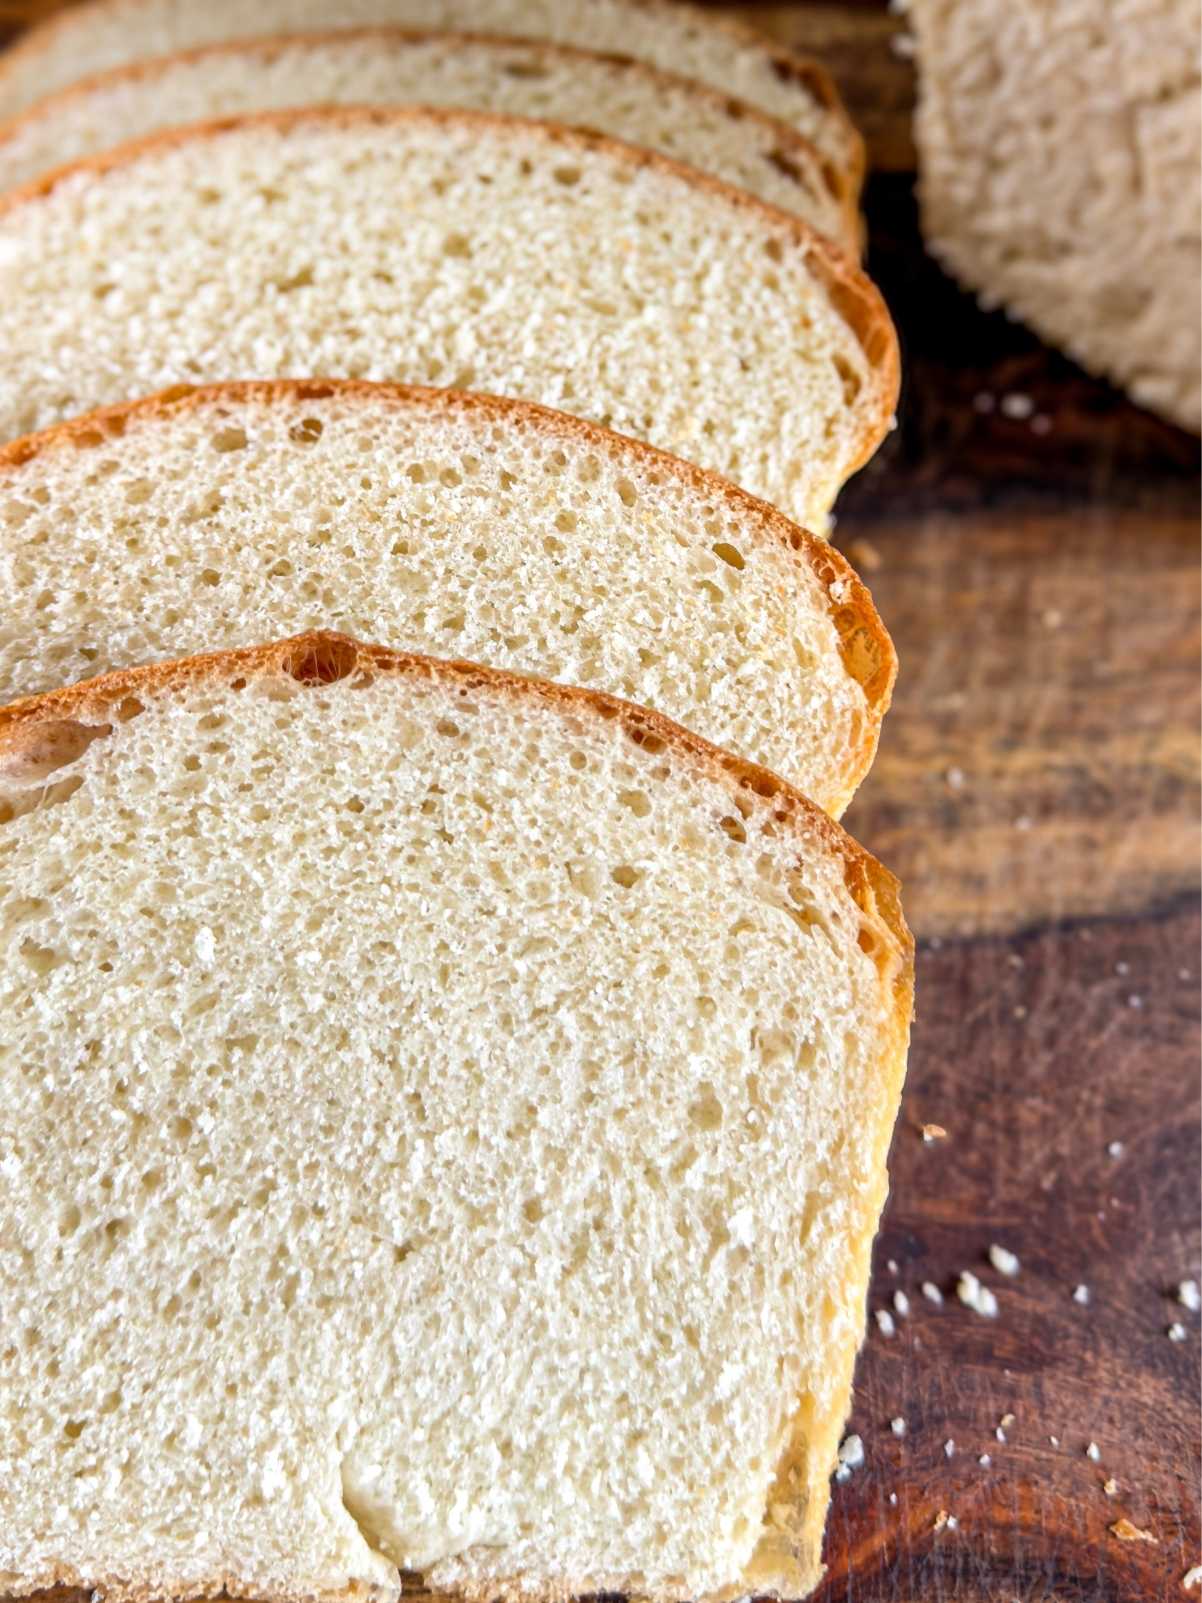
Beginner Friendly Sandwich Bread
If homemade bread has ever felt intimidating, this beginner friendly sandwich bread recipe is the perfect place to start. It’s simple, reliable, and creates a soft, fluffy loaf that’s ideal for sandwiches, toast, or even just a snack.
New to baking bread? This recipe is super simple, using instant yeast to guarantee a quick rise and homemade taste free of dough conditioners, stabilizers, and preservatives. If you have never baked bread before, you are in the right spot with this beginner friendly sandwich bread recipe.
Homemade Bread vs Store Bought Bread
Why make bread at home when store bought bread is cheap and convenient? Let’s face it: we all know that cheap and convenient, when associated with food, doesn’t always equal healthy or good for you. While I’m not against store bought bread, especially during a busy week or season of life, making homemade bread definitely has a lot of positives. Let’s check them out:
1: Better Ingredients You Can Trust: You get to control exactly what goes into each loaf—no preservatives, unnecessary additives, or hidden sugars. You choose wholesome pantry staples like flour, yeast, salt, and butter.
2: Fresh, Buttery Taste That Can’t Be Beat: Nothing compares to the smell of freshly baked bread filling your home. Soft slices, golden crust, and rich flavor make homemade sandwich bread far superior to most store-bought options.
3: Perfect For Meal Planning: Homemade sandwich bread freezes beautifully, making it easy to bake ahead and always have fresh bread ready.
4: Cozy & Cathartic: The is something calming about slowing down and kneading a batch of dough on a flour sprinkled countertop. Making your own bread gives you the gift of old fashioned calm, which can be hard to find in the fast-paced, modern world.
The Ingredients
Warm Water: Warm water (110°-115°F) allows the instant yeast to activate.
Honey: Naturally sweetens the rolls.
Salt: Enhances the flavor.
Neutral Oil: I recommend avocado oil, but canola, vegetable, or sunflower oil can be used too.
Instant Yeast: Commercial instant yeast is what gives the bread a quick and dependable rise. Fleischmann’s Rapid Rise Instant Yeast is a reputable brand and is available in most grocery stores.
Bread Flour: Has more gluten than regular flour.
All-Purpose Flour: Mixing in all-purpose flours helps the bread stay fluffy.
Salted Butter: Use melted, salted butter to brush on the top of the bread after baking.
The Equipment
Kitchen scale
Mixing cups and spoons
Small bowl (to warm the water and melt butter)
Medium to large bowl (for mixing ingredients together)
Spatula or Danish Whisk (for mixing dough)
Bench Scraper (helpful to clean countertop from kneading)
Plastic wrap or tea towel (for covering dough)
Parchment paper (optional)
Basting brush (for brushing butter on top of the loaf)
How To Make Beginner Friendly Sandwich Bread
Prepare the dough:
In a large mixing bowl, pour the warm water, honey, salt, oil and instant yeast. Mix until combined.
Add the bread flour to the mixture and mix with a spoon, spatula, or Danish whisk. Gradually add the all purpose flour (½ cup at a time) until the dough is smooth, elastic, and slightly sticky to the touch.
Knead the dough:
On a lightly floured countertop, knead the dough with your hands (rub a little bit of flour on your palms to help) for 6-8 minutes, adding flour as needed to keep the dough from sticking to the countertop. (You can also use a stand mixer with a dough hook attachment for 4-5 minutes on medium speed.)
First rise:
Grease a bowl or straight sided container with oil or baking spray. Place the dough in the bowl and cover with plastic wrap or a tea towel. Let the dough rise until it is doubled in size (45 minutes- 1.5 hours).
Shape the loaf:
Spray a 9 X 5 inch bread pan with baking spray on all sides. Punch down the dough. Remove from the bowl and place onto a floured surface. Shape the dough into a loaf the length and width of the bread pan and place into the greased bread pan. Cover with plastic wrap.
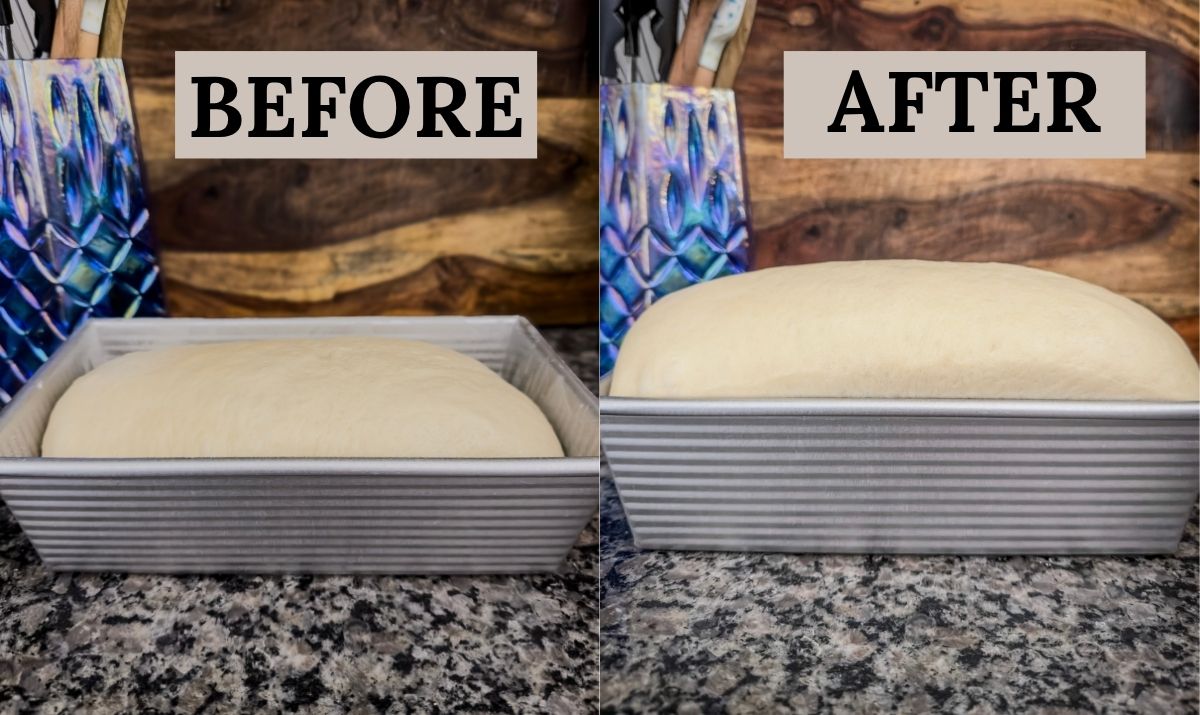
Second rise:
Place the bread pan in a warm place and allow the dough to rise for another 45 minutes to 1.5 hours until the loaf rises about one inch above the top of the pan.
Bake:
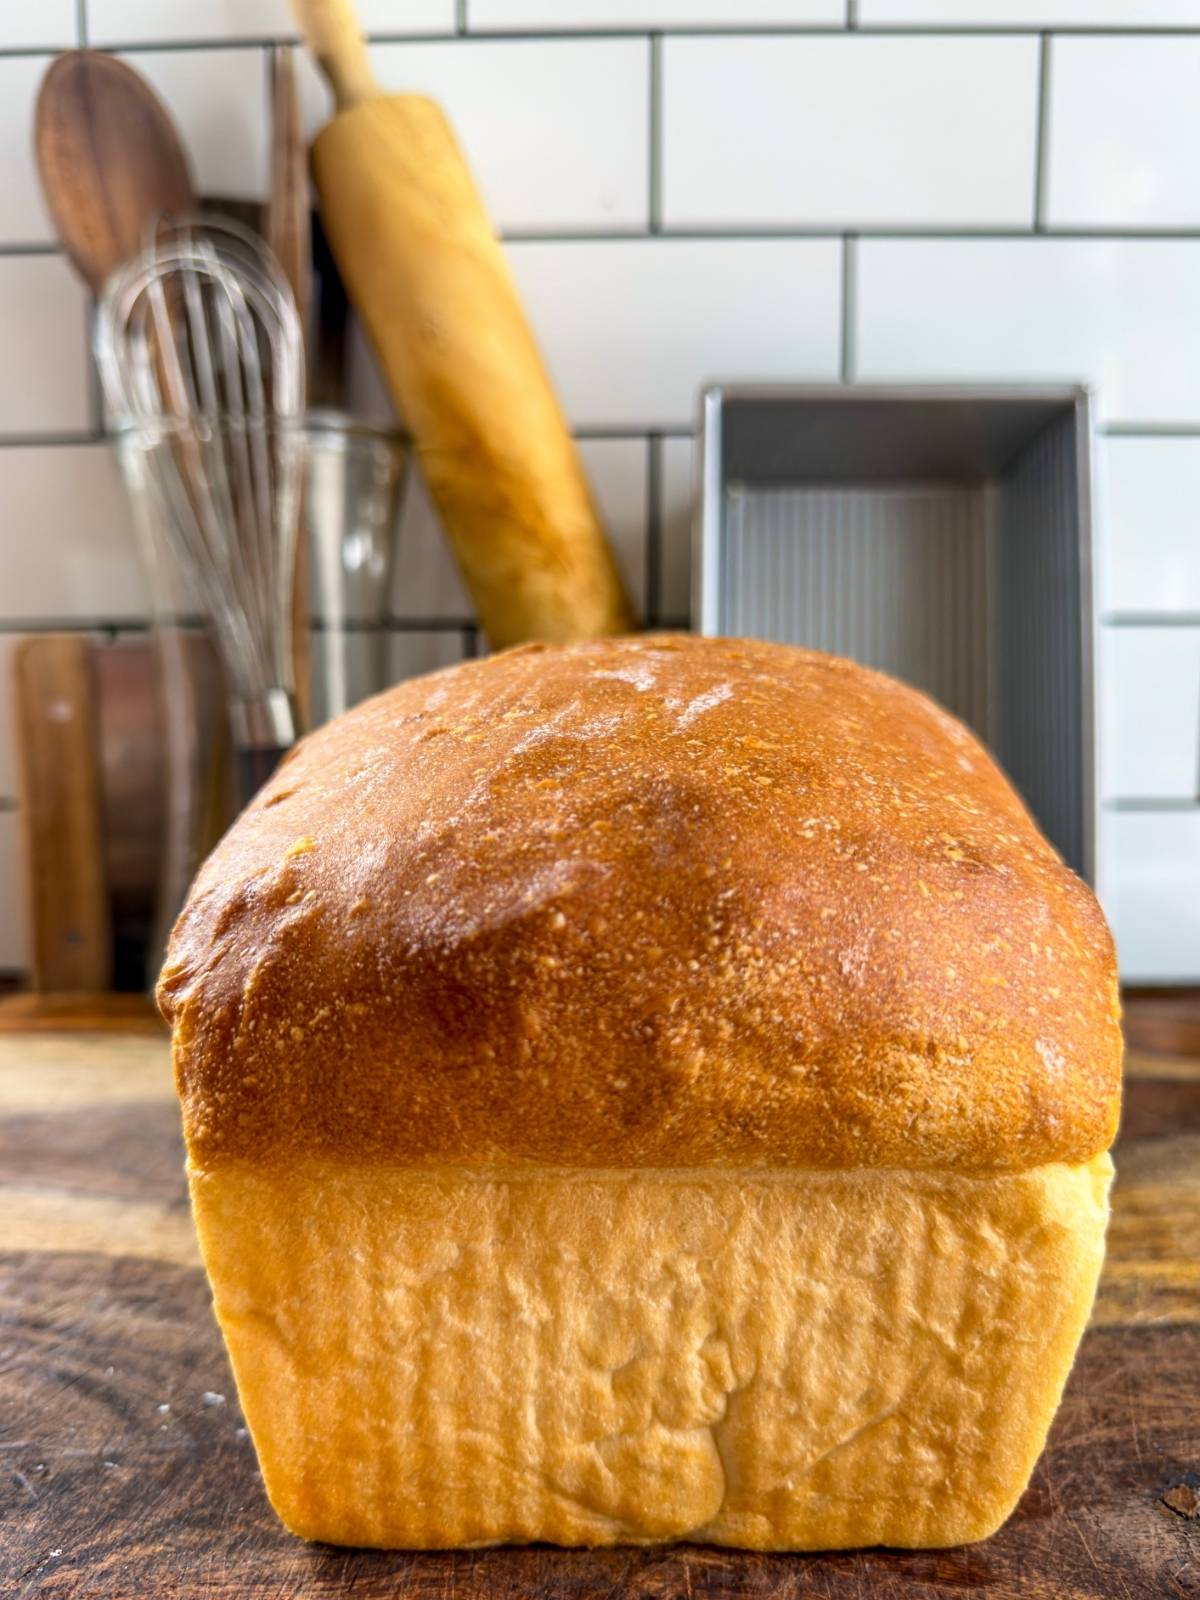
Preheat the oven to 350°F (180°C). Place the bread pan in the oven and bake for 35-40 minutes until the top of the loaf is browned, or until the internal temperature reaches between 205-210°F.
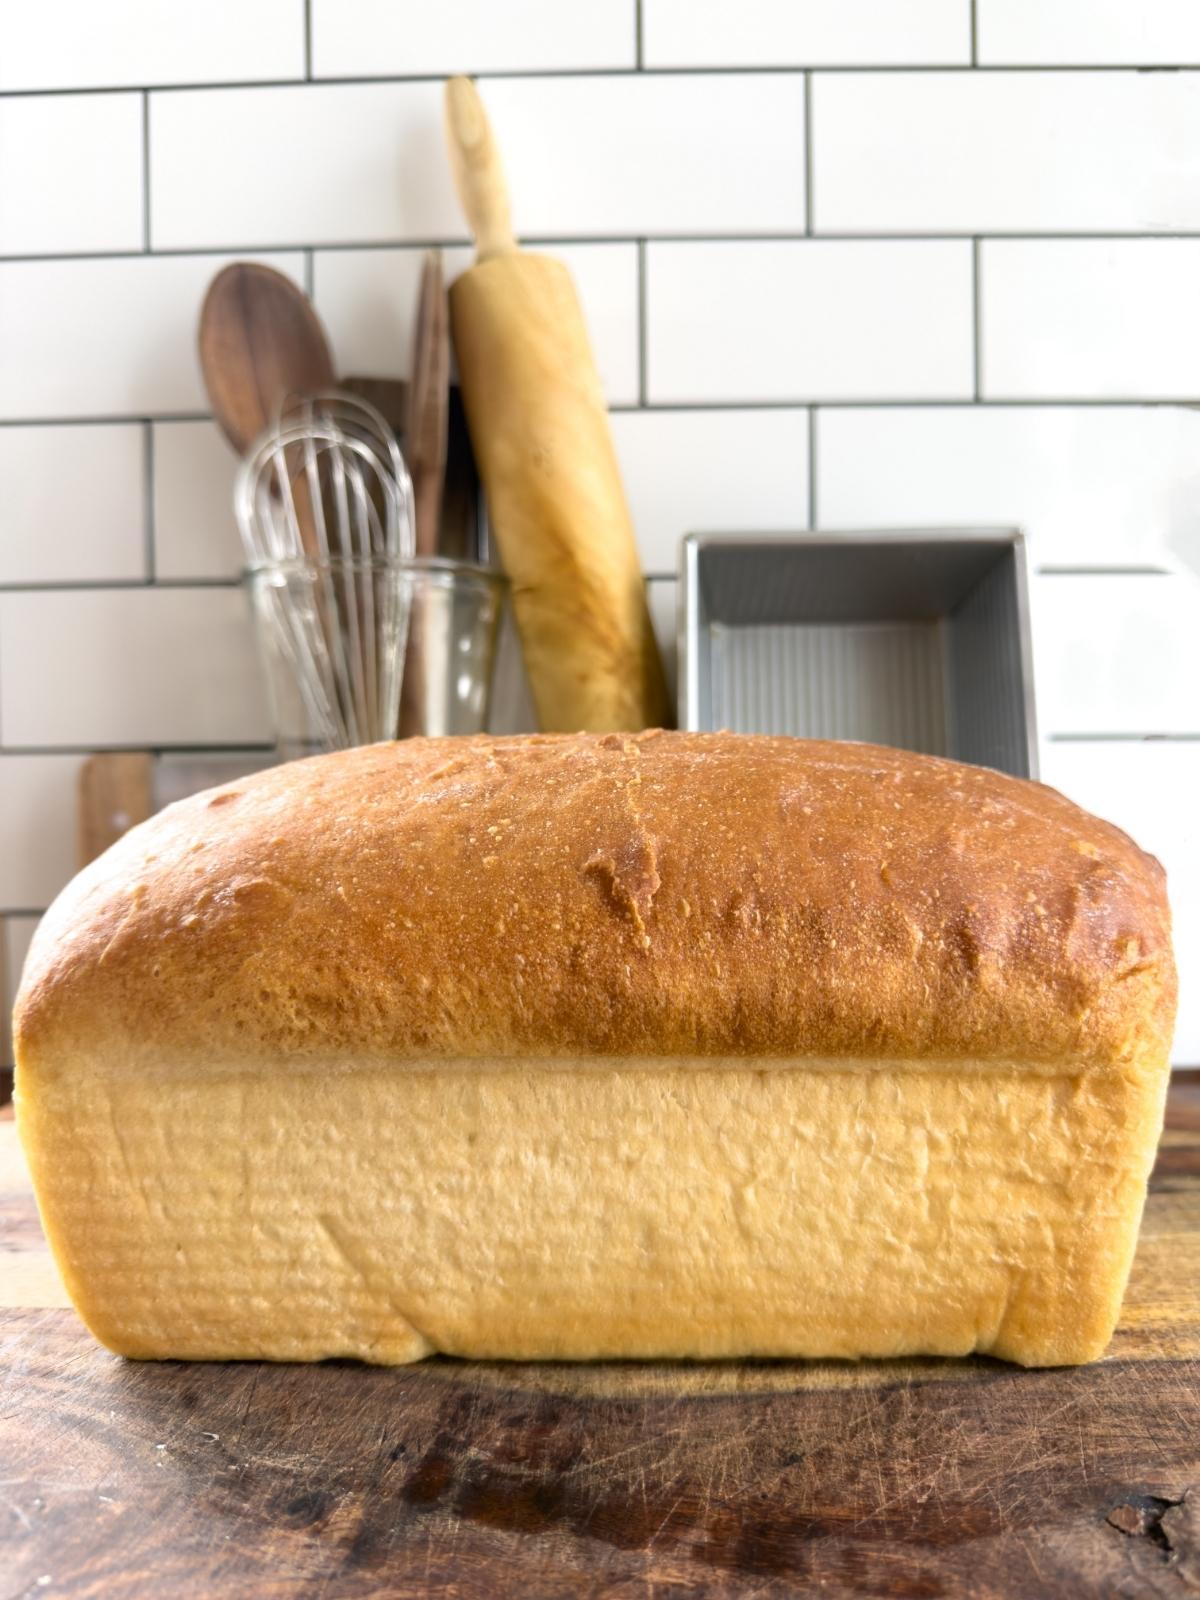
Remove bread from the oven and use oven mitts to remove the bread from pan by flipping it upside down. Place on the countertop or cooling rack and brush the tops and sides with melted, salted butter. Allow the bread to cool for 10-15 minutes before serving.
Once cool, wrap with plastic wrap or store in an airtight container for 2-3 days at room temperature or for 4-5 days in the refrigerator.

Beginner Friendly Sandwich Bread
Ingredients
- 2 cups (474g) warm water, 110-115°F
- ¼ cup (85g) honey
- 2 teaspoons salt
- 2 tablespoons neutral oil
- 2 ¼ teaspoons (1 packet) instant yeast (not active dry, *see notes)
- 3 cups (408g) bread flour
- 1-2 ½ cups (125g-313g) all purpose flour
- ¼ cup salted butter (half a stick), for brushing the tops and sides of the loaves
Instructions
Prepare the dough:
- In a large mixing bowl, pour the warm water, honey, salt, oil and instant yeast. Mix until combined.
- Add the bread flour to the mixture and mix with a spoon, spatula, or Danish whisk. Gradually add the all purpose flour (½ cup at a time) until the dough is smooth, elastic, and slightly sticky to the touch.
Knead the dough:
- On a lightly floured countertop, knead the dough with your hands (rub a little bit of flour on your palms to help) for 6-8 minutes, adding flour as needed to keep the dough from sticking to the countertop. (You can also use a stand mixer with a dough hook attachment for 4-5 minutes on medium speed.)
First Rise:
- Grease a bowl or straight sided container with oil or baking spray. Place the dough in the bowl and cover with plastic wrap or a tea towel. Let the dough rise until it is doubled in size (45 minutes-1.5 hours).
Shape the dough:
- Spray a 9 X 5 inch bread pan with baking spray on all sides. Punch down the dough. Remove from the bowl and place onto a floured surface. Shape the dough into a loaf the length and width of the bread pan and place into the greased bread pan. Cover with plastic wrap.
Second Rise:
- Place the bread pan in a warm place and allow the dough to rise for another 45 minutes to 1.5 hours until the loaf rises about one inch above the top of the pan.
Bake:
- Preheat the oven to 350°F (180°C). Place the bread pan in the oven and bake for 35-40 minutes until the top of the loaf is browned, or until the internal temperature reaches between 205-210°F (96-99°C).
- Remove bread from the oven and use oven mitts to remove the bread from pan by flipping it upside down. Place on the countertop or cooling rack and brush the tops and sides with melted, salted butter. Allow the bread to cool for 10-15 minutes before serving.
- Once cool, wrap with plastic wrap or store in an airtight container for 2-3 days at room temperature or for 4-5 days in the refrigerator.
Notes
- This recipe uses instant yeast in order to allow for a fast rise time. If you want to use active dry yeast, follow the first step and allow the yeast to bloom for 10 minutes. Continue following the recipe, allowing for more time for the dough to proof (1 hour-1.5 hours for each rise).
- Use a straight sided container to accurately tell when your dough has doubled in size.
- Flour Type: You can use all bread flour or all purpose for this recipe. I just find the mix of both gives the bread the perfect combination of fluffiness and chewiness.
FAQ:
More Homemade Bread Recipes (Using Instant Yeast):
Soft & Fluffy Homemade Dinner Rolls